

Happy Monday, friends!!! I took the weekend off from blogging to regroup and get a clear perspective on how I want my blogging/social media journey to look going forward. If you’ve been following along with the Cottages & Bungalows page, you know that I wasn’t picked to be the brand ambassador for next year. I feel so humbled that I made it to the top three and learned so much from the experience! Although it was incredibly emotional, I couldn’t be more grateful for the outcome. I’m sure I’ll share a little more about the experience in weeks to come, but for today, I’m sharing the DIY tutorial that I submitted when I applied for the ambassadorship.
Kids are back in school, days are getting shorter, and evenings are getting cooler. Fall is almost here, which means it is time to start adding all the cozy touches to our homes. One of my favorite ways to add cozy vibes is with lighting, especially the soft glow of candles and lamps.

It can often be hard to find the perfect lamp, so why not make one? If you can drill a couple of holes and lace a wire cord through those holes, you can make a lamp!
What you will need:
- lamp base – get creative. Almost anything could be transformed into a lamp
- lampshade
- lamp wiring kit (found on Amazon, at Walmart, or your local hardware store)
- drill and drill bit
- glue

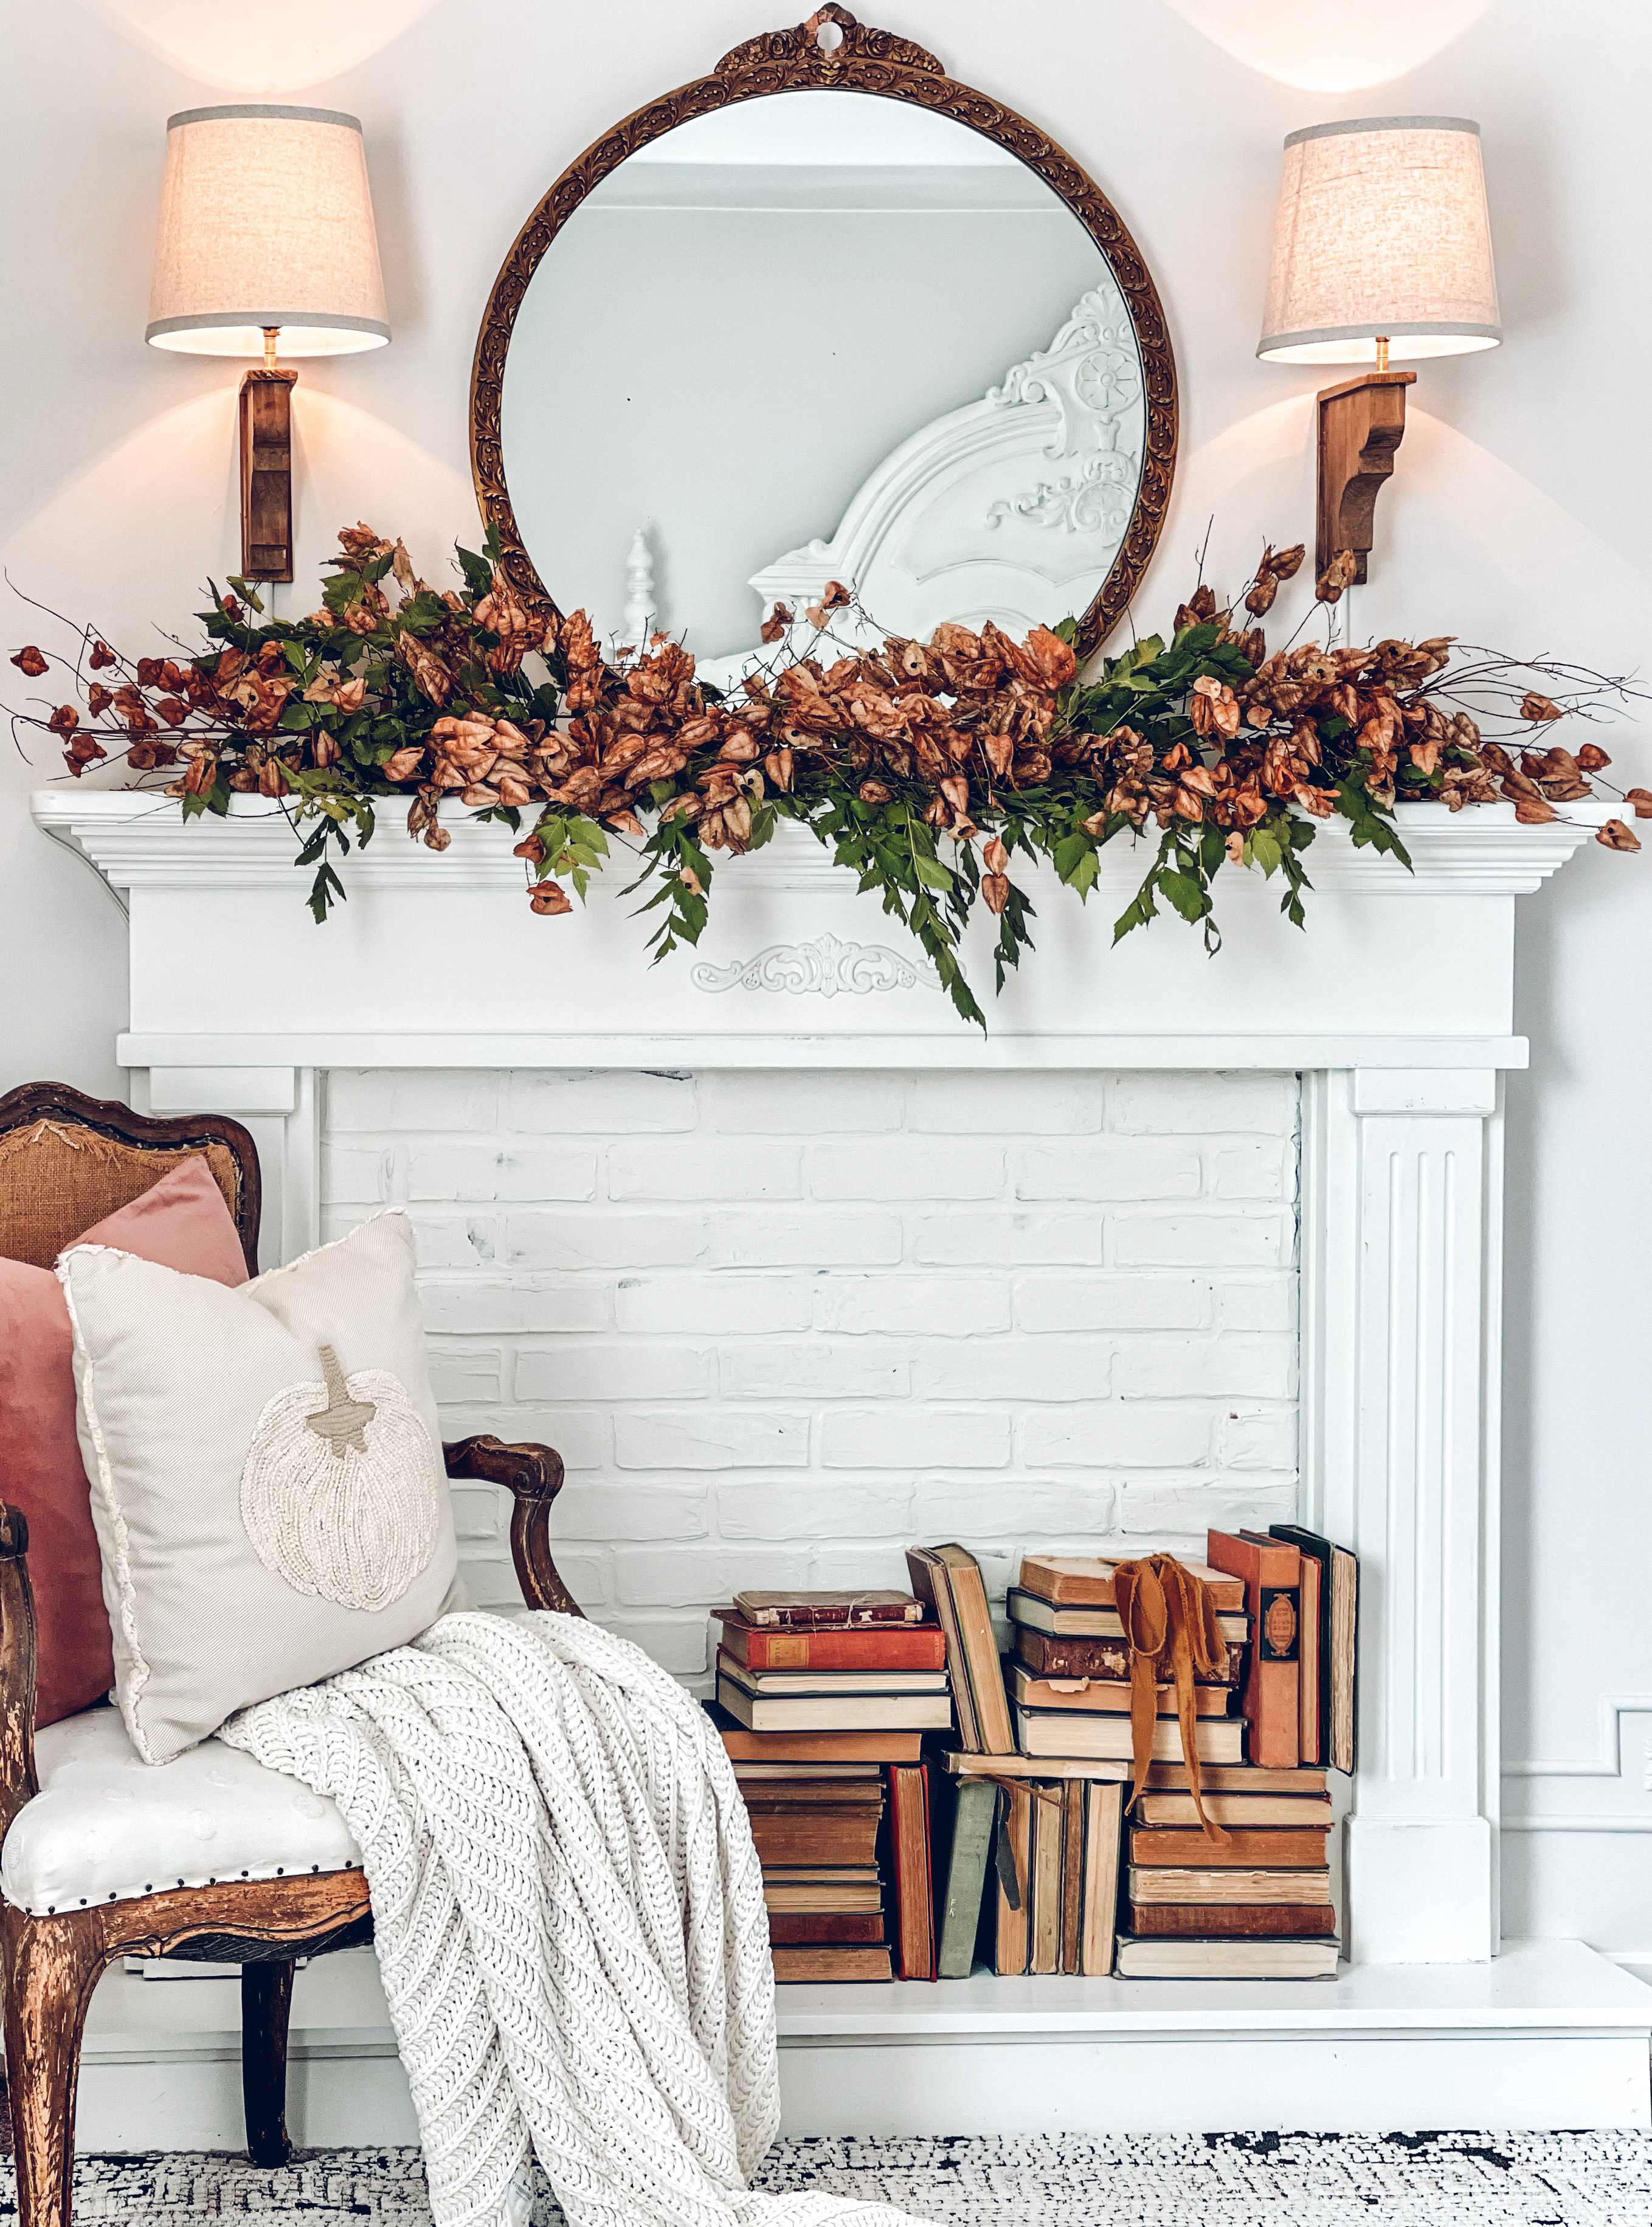
I wanted to create unique lamps that would add the perfect seasonal touch to my decor so I found a few unconventional items to use as lamp bases, a tall candlestick, a large pinecone, and a set of wooden corbels.

Let’s get started!
Step one
Drill a hole through the back of your lamp base.

Step two
Drill a hole through the top of the piece.
Make sure you drill a hole large enough for the wire to pass through, but small enough that the mounting pieces (inside the lamp kit) will fit. I used a 5/16 inch drill bit.
This candlestick is hollow, but if you’re working with a solid piece, you can find extra long drill bits at your local hardware store.

Step three (optional)
Paint your piece to make it a little more “you”!

Step four
Lace the wire cord from the bottom hole up through the top.

Step five
Pull wires through the lamp socket and glue in place, using strong glue.

Step six
To finish wiring, follow the instructions included in the lamp kit.

Step seven
Step back and enjoy your handy work!!

Tips and Tricks
- There are all sorts of drill bits, some to drill through wood, to drill through glass, long drill bits, short drill bits, etc., make sure to get one that suits your project.
- If you’re having a hard time lacing the cord through the holes, try using a thin piece of wire to help guide the lamp cord.

Once you have laced the thin wire through the holes, wrap the wire tightly around the cord.

Pull the wire and the cord will follow. When wiring these corbels into sconces, this little trick was quite helpful!
Can you believe how easy it is to make a lamp!
My mind is swirling with ideas for future lamps. Imagine how amazing it would be to make sconces out of a pair of big antique corbels, or a table lamp from a stack of old books, the possibilities are endless!
This is why I love creating through the power of DIY, you can turn your visions into beautiful realities!!
I hope you all have a wonderful day!!!


These are all wonderful! I’ve had a few items that I’ve thought would make unique lamps. Thank you for sharing the how-to.
Emily, This is an amazing post. I was so excited to see that you were a finalist. I’m so proud of you. Something amazing is coming your way. You are so talented. These lamps are incredible! Hugs and blessings to you.
Thank you so much!!! You’re the sweetest!
Thank you so much for showing readers how to do these lamps. So many lamps and home furnishings end up in the dump—such a waste and often not biodegradable which causes so much stress on our planet. Lamps are easy and almost anything can be made into a lamp—and a little paint will always ‘freshen’ up an older lamp! Great Job on this REDO and RECREATE!
Thank you so much!!!!!